Log in and find CBX
- Version
- 3.x
- Updated
Audience: store admins · Scope: getting into the CBX admin area · Last reviewed: 2026-07-21
What this does — Gets you into the back office where all store management happens, and shows you the menu you'll use for everything else in this guide.
Before you start
- You need an admin account for your website with access to CBX. If you don't have one, ask whoever set up your site.
Steps
-
Open your site's administrator area in a browser. On a Joomla-hosted store that is your site's address followed by
/administrator; on a WordPress-hosted store it is/wp-admin.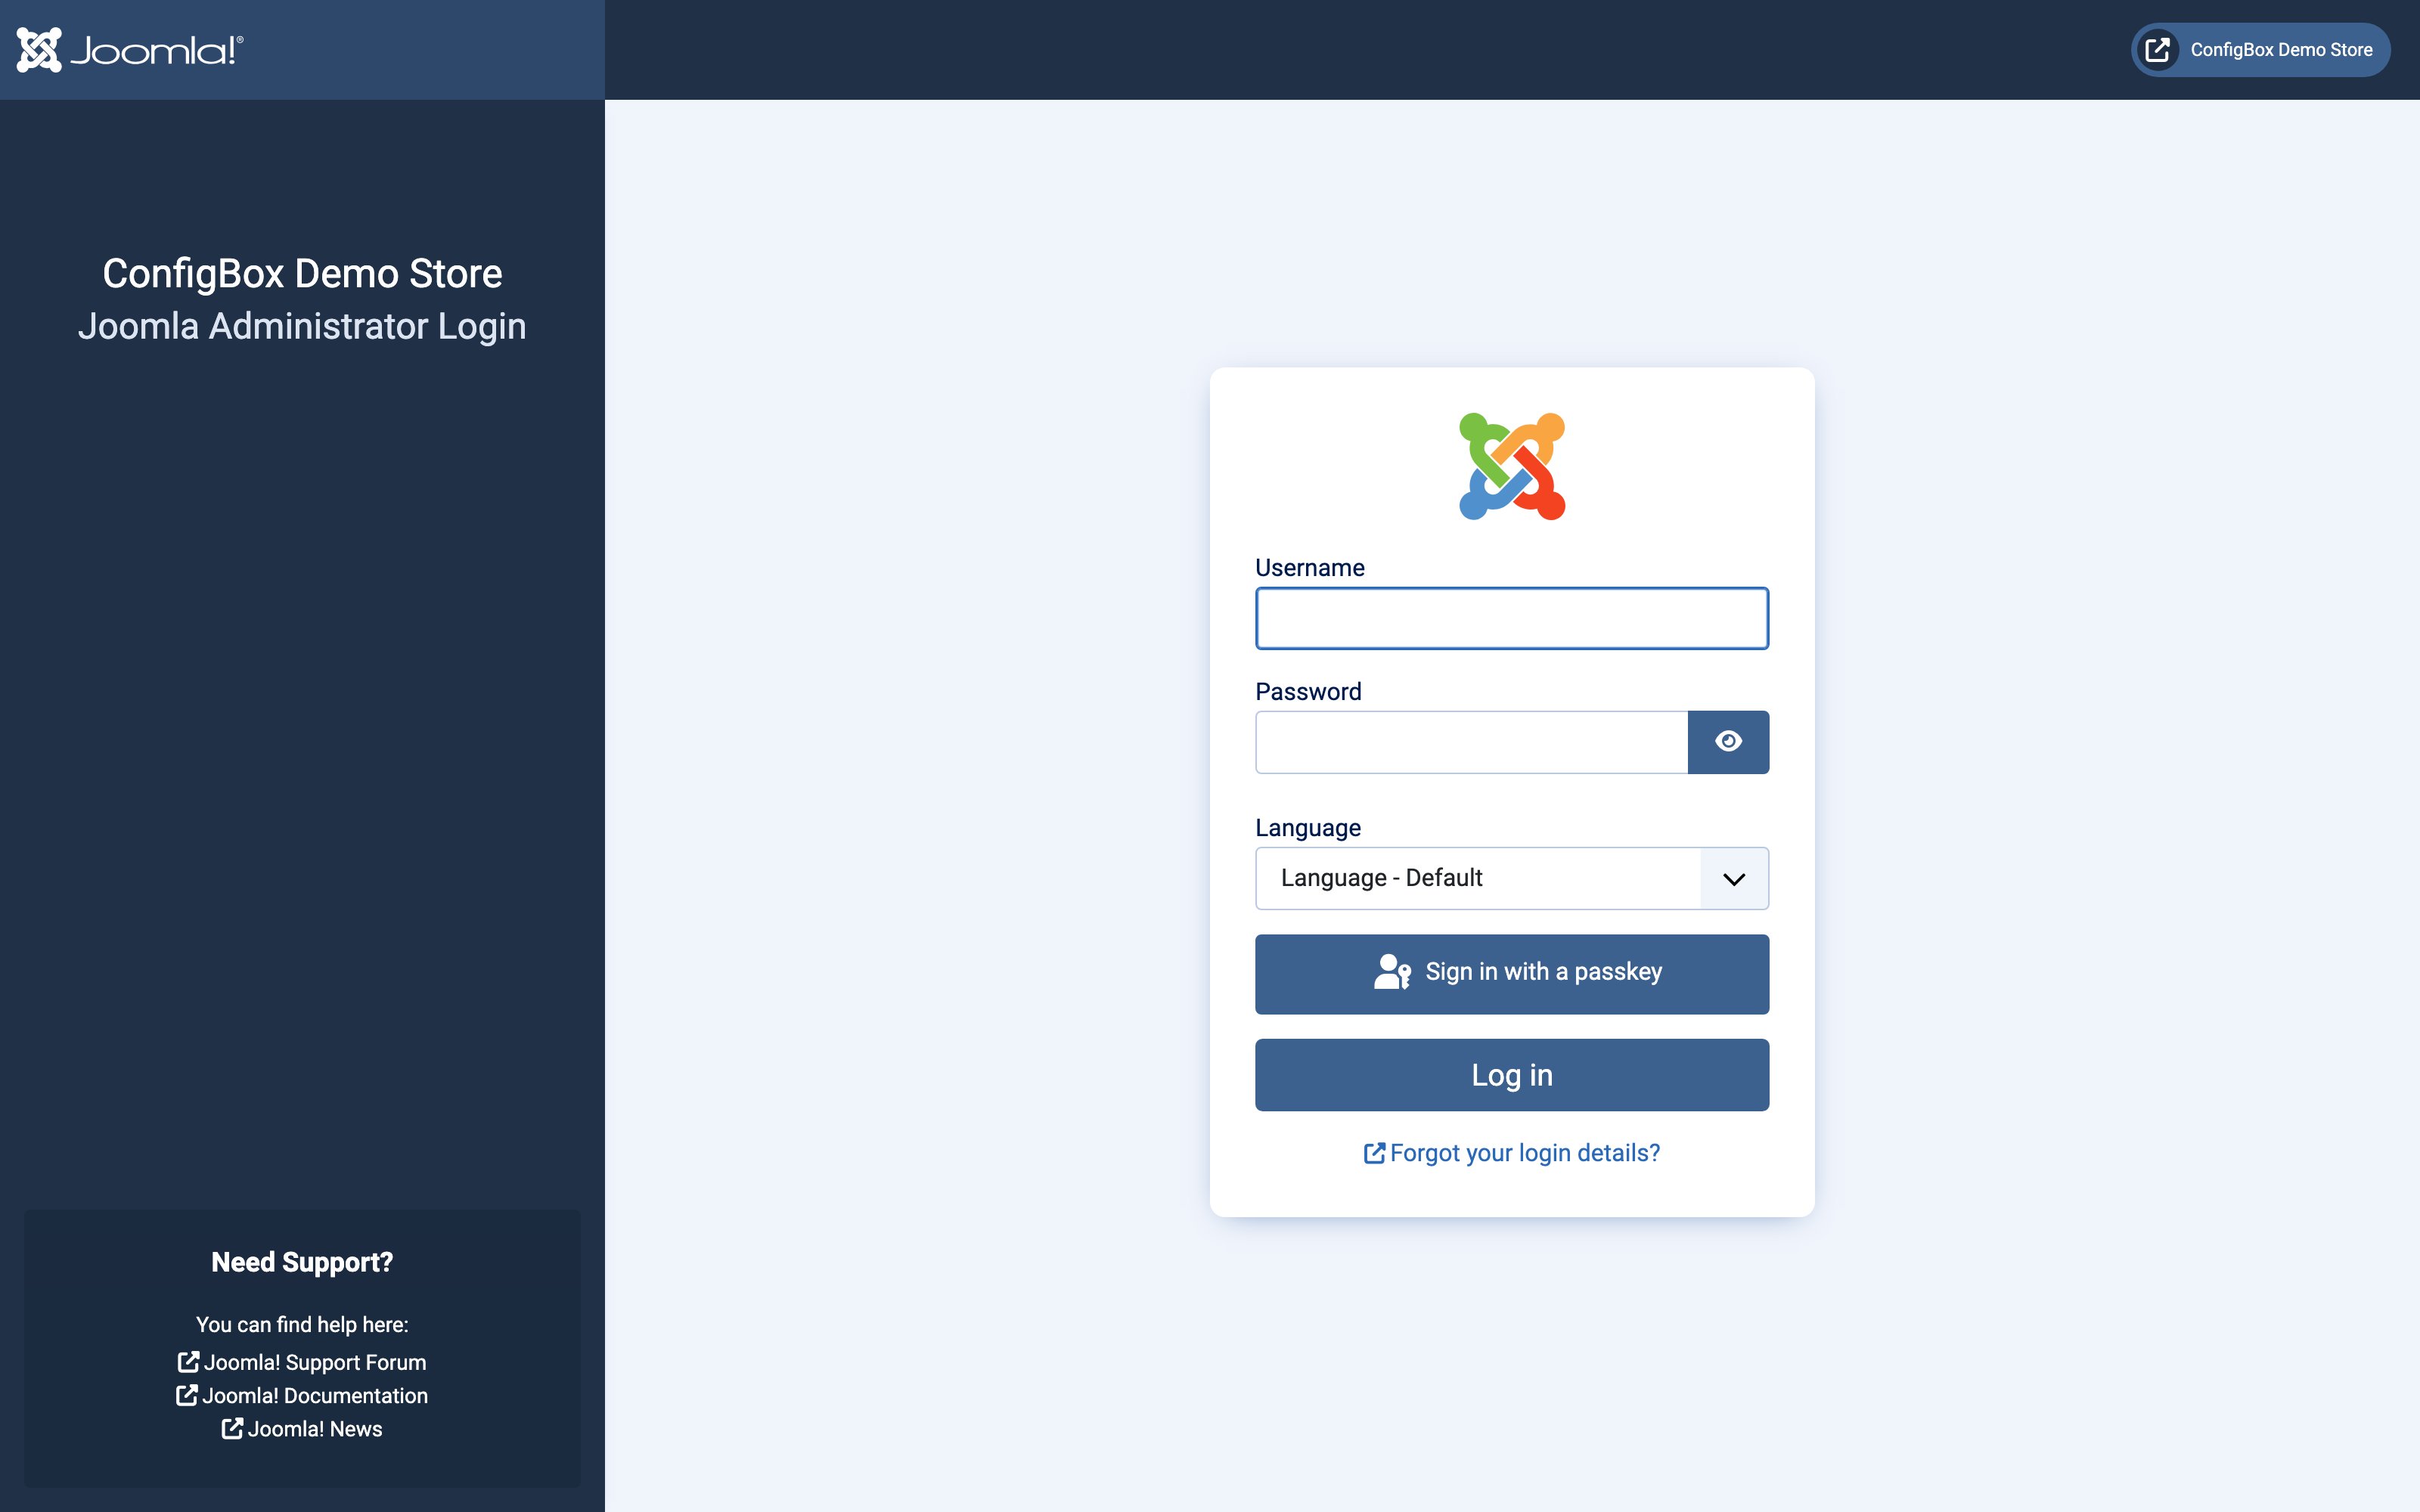
-
Enter your username and password and sign in.
-
Open the CBX area. On Joomla: Components → CBX — see Run CBX on a Joomla site for everything Joomla-specific. On WordPress: CBX in the left admin menu — see Run CBX on a WordPress site for everything WordPress-specific. On Magento 2: Configbox → Administration in the admin sidebar — see CBX on Magento 2 for everything Magento-specific. The CBX screens themselves are identical on every host.
-
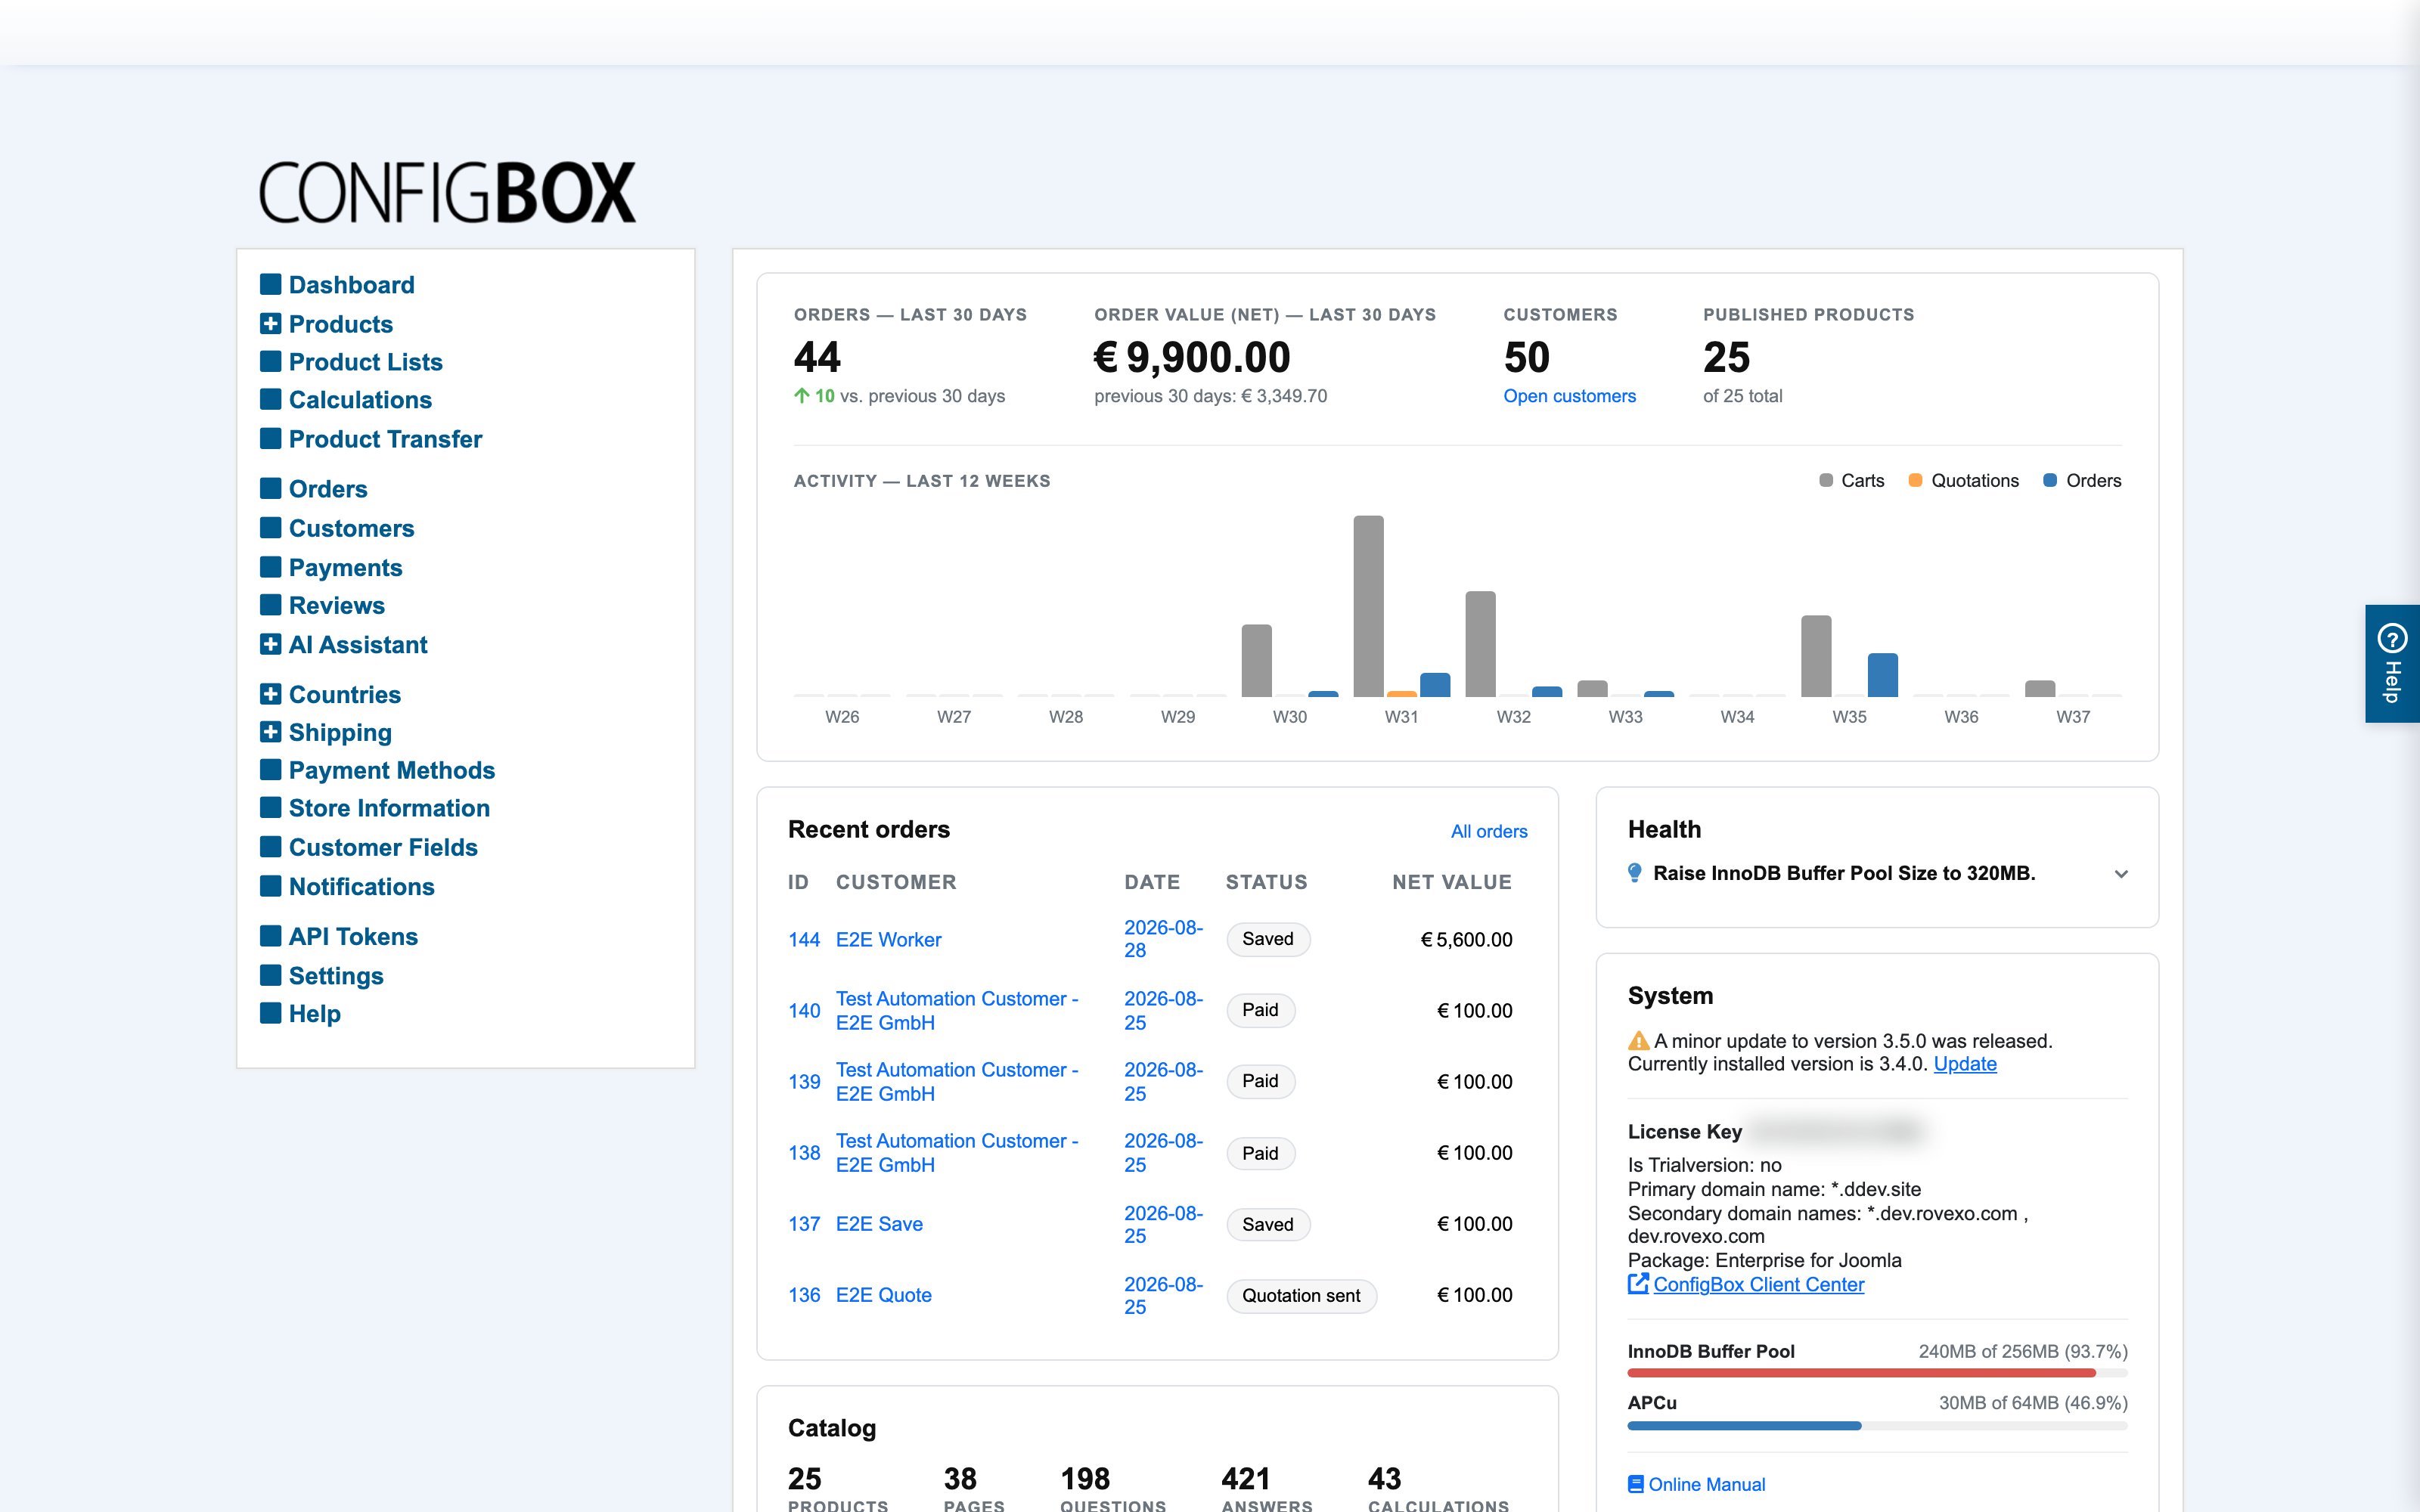
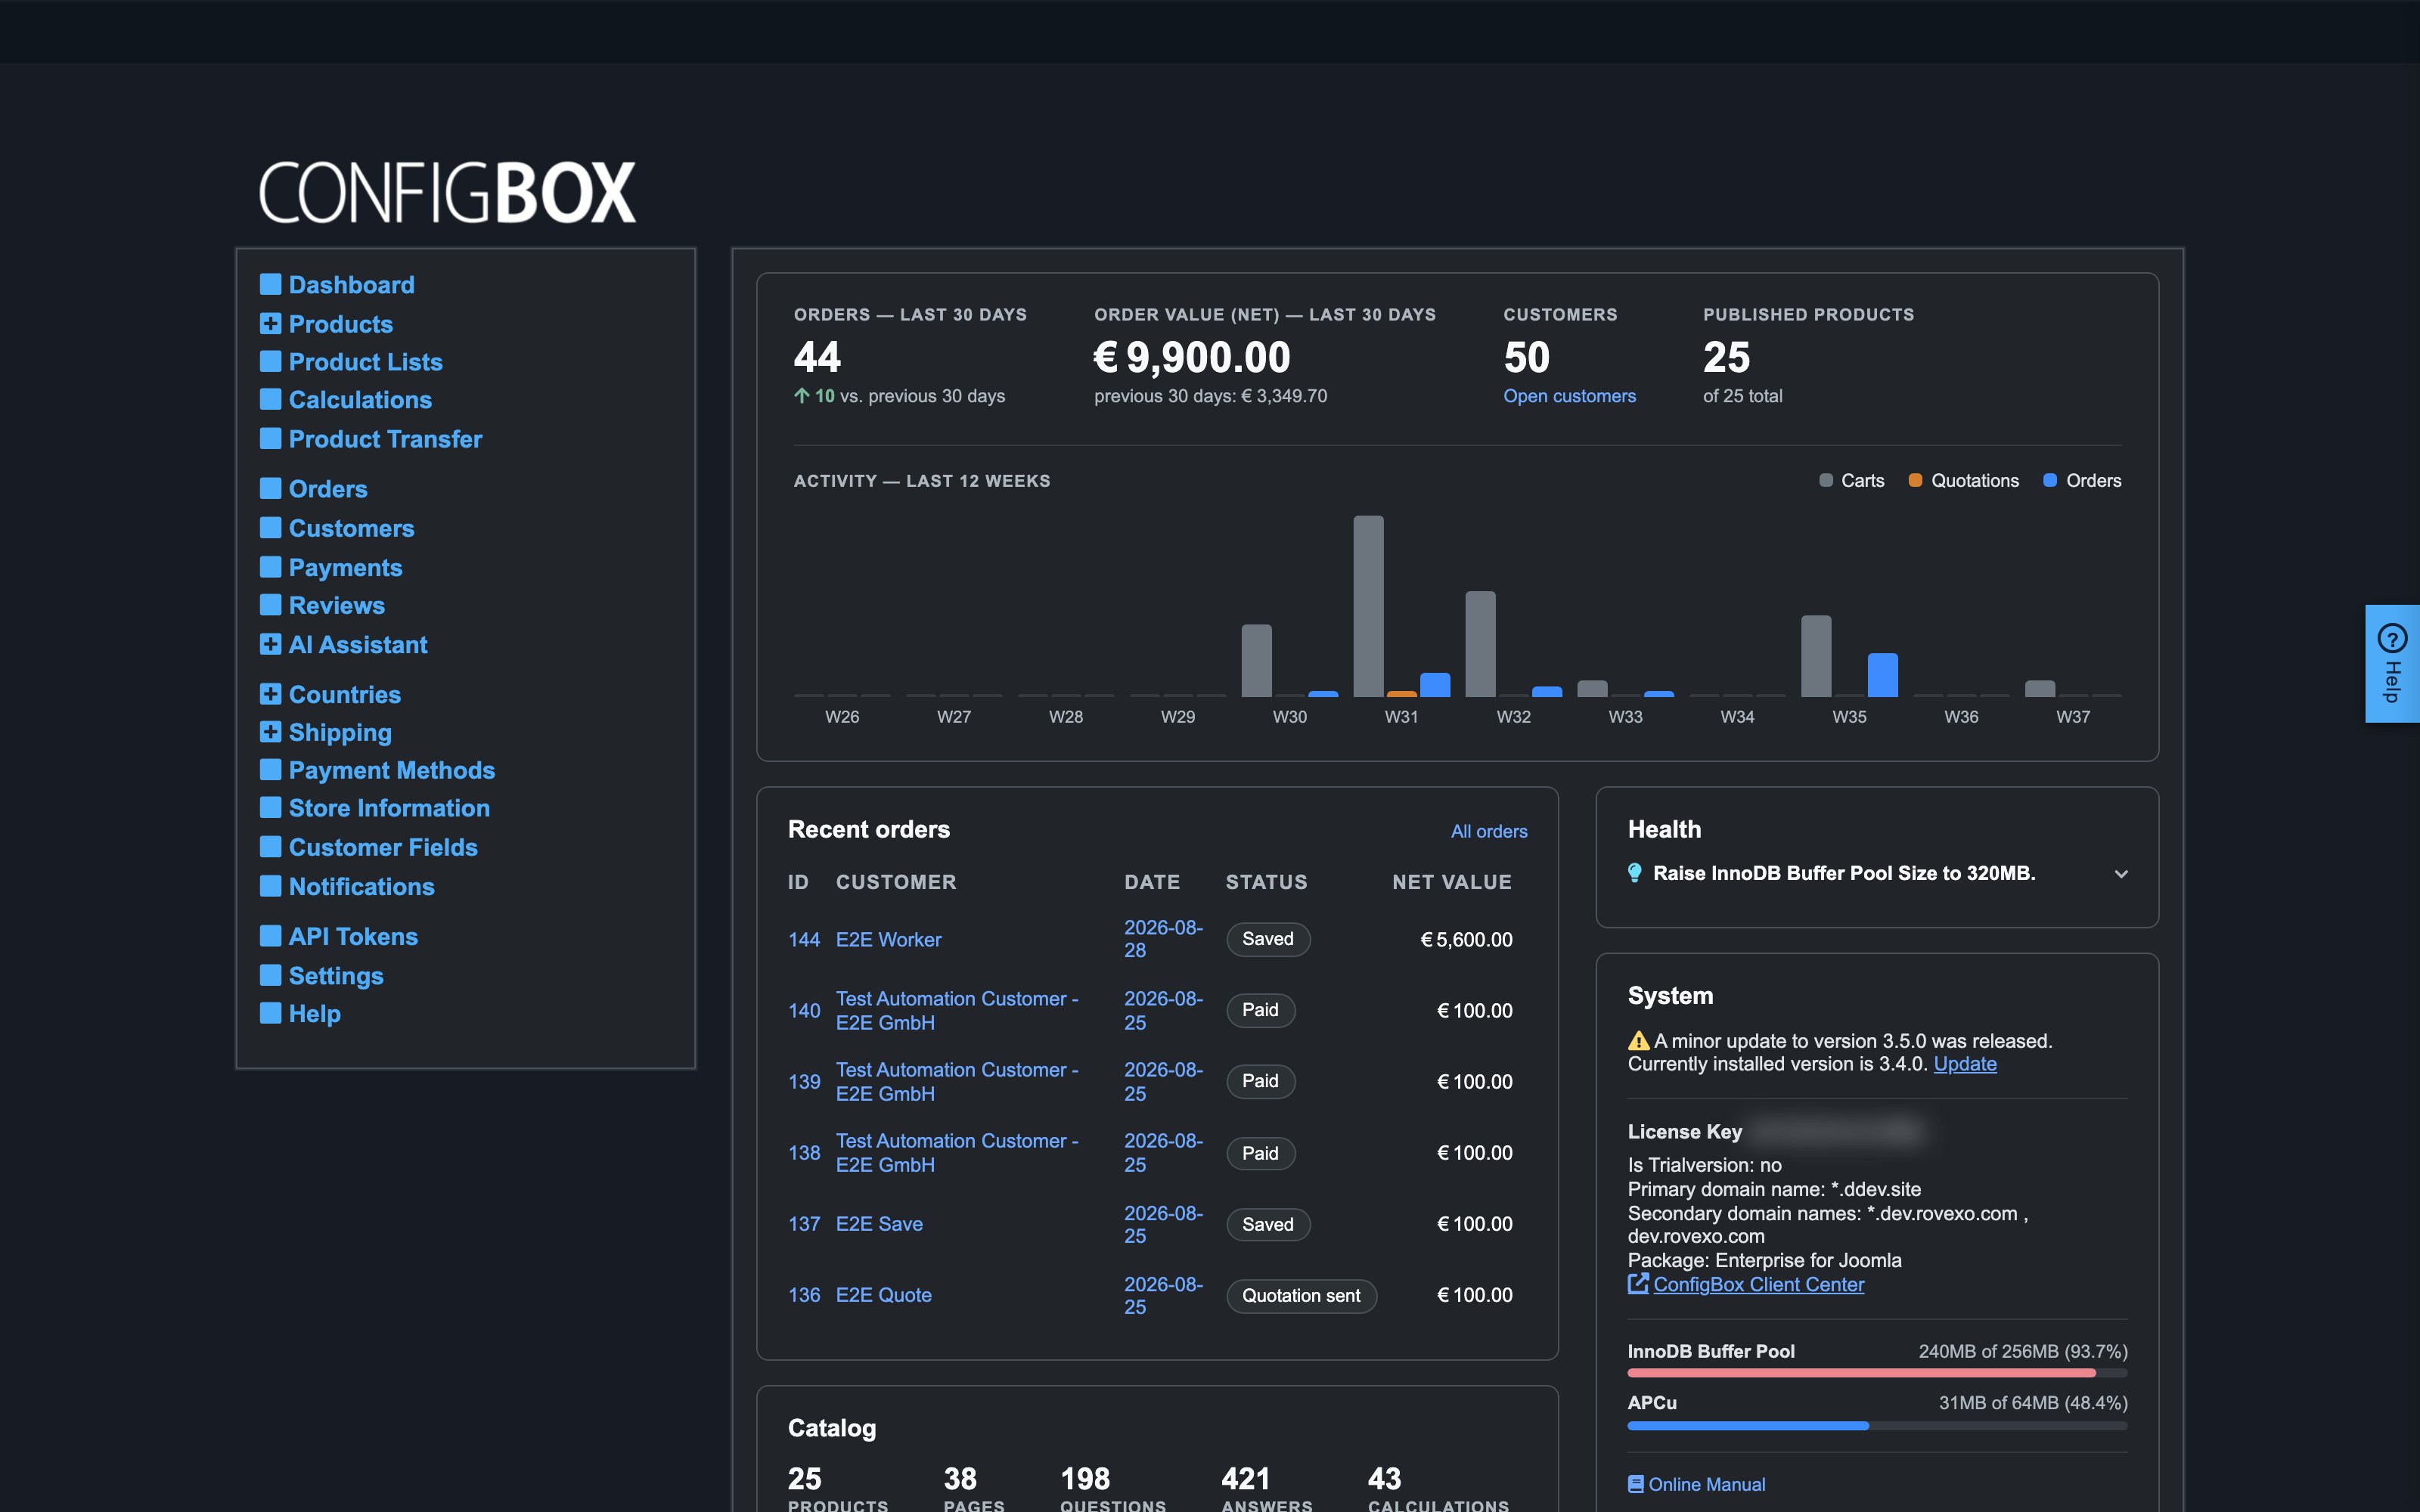
You land on the Dashboard, with the CBX menu on the left:
What happens next
Every article in this guide starts from this menu — when a step says "go to Products" or "open Settings", it means this CBX menu, not your site's general admin menus.
Good to know
- Menu groups expand. Entries with a + (Products, Countries, Shipping) expand to sub-entries; the Products entry is both a link (the product tree) and a group.
- Two ways to edit. Besides the back office, managers who are logged in on the storefront see edit buttons when hovering over products, questions and answers — the same edit forms open in place. Great for tweaking while seeing what the customer sees.
- If your admin session expires, CBX brings you back to the login screen — nothing you had already saved is lost.